So you’ve got a brilliant design—maybe it’s a intricate logo, a delicate piece of artwork, or a custom font that’s just perfect. You can already picture it stitched out with the incredible precision of a ZSK embroidery machine. But here’s the catch: your design file and your high-tech ZSK aren’t speaking the same language. Getting from your initial concept to a flawless, stitch-perfect embroidered piece requires a translation process, and how you handle that conversion makes all the difference. Whether you’re a seasoned shop owner or just starting your embroidery journey, knowing the right path is key to avoiding thread breaks, mysterious bobbin nests, and designs that just look… off. Let’s walk through the best methods to convert designs for ZSK embroidery machines.
Understanding the Embroidery File Landscape: It's Not Just an Image
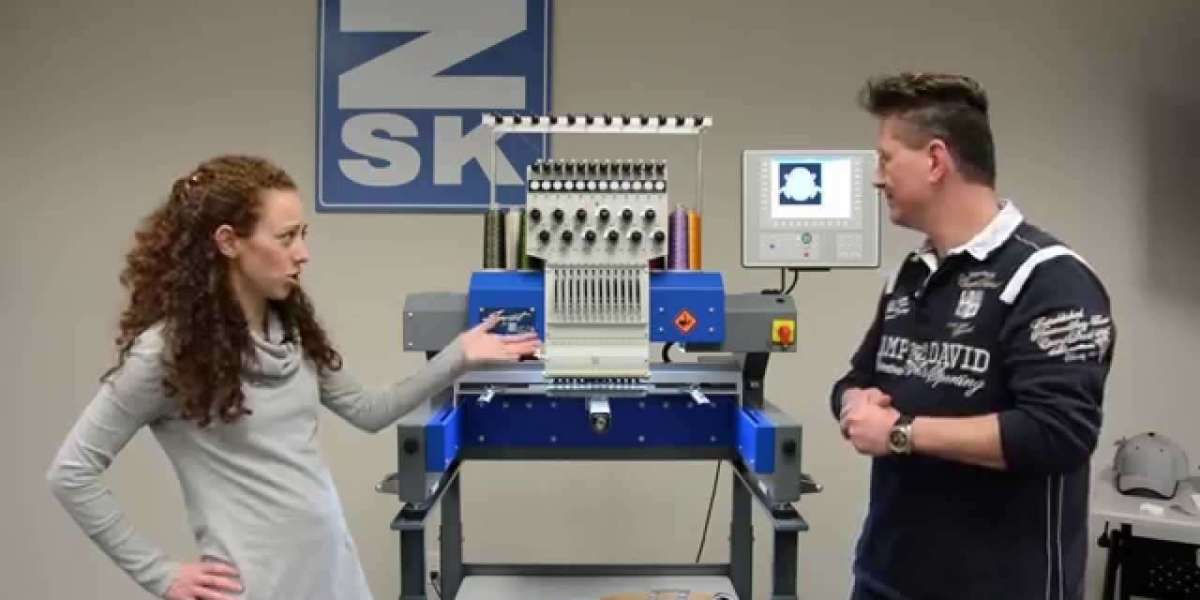
First things first, we need to clear up a common point of confusion. Your ZSK machine doesn't read JPEGs, PNGs, or even PDFs the way your computer screen does. It needs a set of instructions, not a picture. These instructions are contained in specialized embroidery file formats—most commonly DST, but also EXP, PES, or VP3, depending on your specific machine model. These files tell the machine exactly where to move the needle, when to change threads, what stitch type to use, and in what order.
Your starting design, however, is likely a "graphic" file—a vector logo from Illustrator or a raster image from Photoshop. The conversion process is essentially the art and science of translating that visual graphic into a precise, efficient set of stitching commands. A poor conversion leads to a poor stitch-out. It’s that simple.
Method 1: Professional Digitizing Software (The Gold Standard)
For consistent, professional results, especially for complex logos or designs intended for commercial sale, dedicated digitizing software is the undisputed champion. Think of programs like Wilcom, Pulse, or Hatch. This is the method used by professional digitizers.
Here’s why it’s so powerful: these programs allow for manual, stitch-by-stitch control. A skilled digitizer uses your graphic as an underlay—a guide—and then manually creates the embroidery file. They define the stitch path (the order the sections sew out), assign stitch types (satin for text, fill for large areas), set stitch density, and add crucial commands like trims and color changes. They can manually pull and push stitches to prevent puckering, optimize underlay to stabilize different fabrics, and ensure the design sews smoothly from start to finish. While this method has a learning curve and a cost (both for the software and the skilled labor), it yields files that make your ZSK machine sing, producing durable, beautiful embroidery with minimal thread breaks. It’s the best method for brands that rely on perfection.
Method 2: Auto-Digitizing Features (The Quick Start)
Most mid-to-high-level digitizing software, and even some machine-specific software, includes an "auto-digitize" function. You import your graphic, click a button, and the software attempts to automatically convert it to stitches. This can be tempting for simple shapes or one-off projects.
A word of caution: use this method sparingly and with managed expectations. Auto-digitizing often creates inefficient stitch paths, uses inappropriate stitch types, and ignores critical factors like fabric pull compensation. It tends to treat everything as a simple fill area, which can lead to bulky, stiff designs that use excessive thread. Think of it as using an online translation tool for a technical manual—you might get the gist, but the nuance and accuracy will be missing. If you do use auto-digitize, always, always plan to clean up the file manually afterward. Preview it extensively in your machine’s software, adjust stitch densities, and check the stitch order.
Method 3: Using a Specialized Conversion Service (The Expert Outsourcing)
Not everyone wants to become a digitizer, and that’s perfectly okay. This is where the vibrant ecosystem of professional digitizing services comes in. You upload your graphic file to a service (many offer quick online quotes), a human expert digitizes it specifically for your needs (e.g., hat front, jacket back, towel fabric), and they send you back a ready-to-stitch DST or EXP file.
This method brilliantly balances quality, time, and cost. You’re paying for a professional’s expertise without the overhead of buying expensive software and spending years learning the craft. When choosing a service, look for those that ask questions—about the garment type, the size, and the intended use. A good digitizer will tailor the file for your specific application. For most businesses, this is the most practical and reliable method to consistently convert designs for ZSK embroidery machines.
Method 4: Direct Purchase of Pre-Digitized Designs (The Ready-Made Solution)
Sometimes, you don’t need to convert anything at all. There are massive online marketplaces filled with thousands of pre-digitized embroidery designs, often available for immediate download in a plethora of formats, including those compatible with ZSK machines. This is ideal for decorative designs, monograms, seasonal graphics, or hobby projects.
The advantage is instant gratification and a known cost. The disadvantage is a lack of customization. The design is what it is. The key here is to purchase from reputable sites that provide quality files, and always, always run a test stitch-out on a scrap piece of your actual garment material before committing to a production run. Even a purchased design can behave differently on different fabrics.
The Universal Pre-Flight Checklist
No matter which conversion method you choose, your starting point dictates your success. Follow this short checklist before you even begin the conversion process:
- Start with the Highest Quality Art: A crisp, high-resolution PNG or, better yet, a vector AI/EPS file gives the digitizer or software clean lines to work with. Fuzzy, pixelated art makes for fuzzy, problematic embroidery files.
- Simplify When Possible: Does that tiny text really need seven words? Is that gradient essential? Simplifying complex artwork before digitizing often leads to a cleaner, more recognizable stitched result.
- Know Your End Use: Communicate the final fabric and garment type to your digitizer or keep it in mind if you’re digitizing yourself. A file digitized for a stiff cap will behave poorly on a stretchy polo shirt if not adjusted.
Conclusion: It's a Partnership Between Art and Engineering
Converting a design for embroidery is where creative vision meets mechanical engineering. Your ZSK machine is a marvel of precision, but it can only execute the instructions it’s given. The "best" conversion method isn’t a one-size-fits-all answer; it depends on your budget, your skill level, your timeline, and your quality demands.
For critical business logos, invest in professional digitizing. For simple personal projects, auto-digitizing with careful cleanup might suffice. For consistent quality without the software investment, a trusted conversion service is a savvy business move. By understanding the strengths and limitations of each approach, you empower yourself to make the right choice, ensuring that every design you run through your ZSK is set up for a flawless, professional finish.