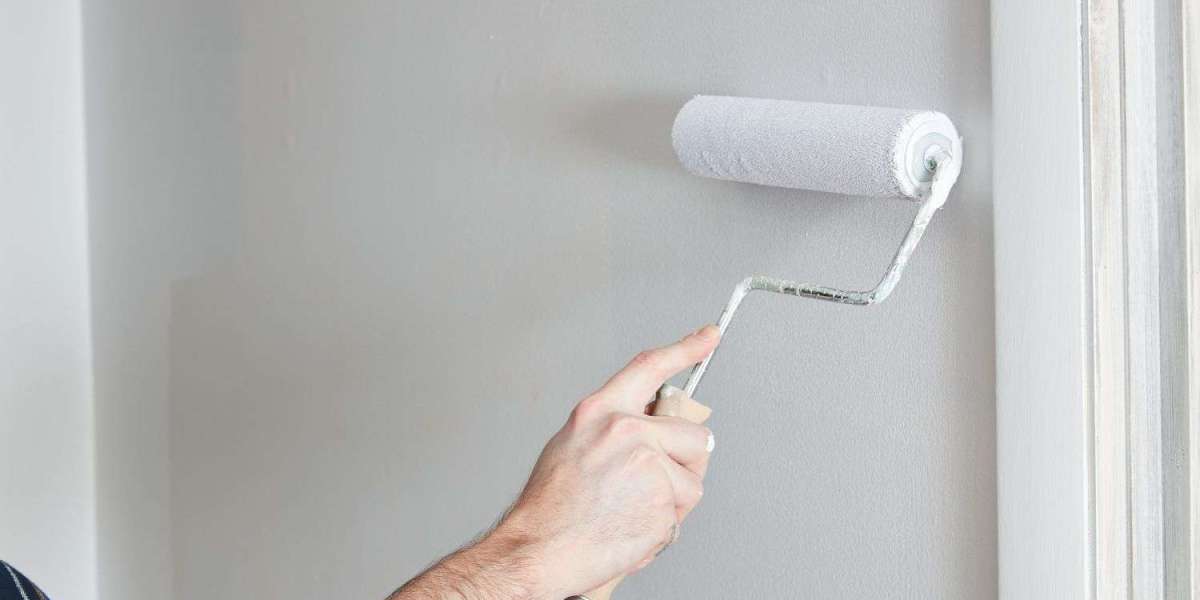

A fresh wall color can make a room feel completely different, but the quality of the result often depends on what happens before painting begins. Dust, old coatings, stains, small cracks, and uneven patches can all become more noticeable once a new finish is applied.
Taking time to understand the surface and prepare it correctly can make Paint and Primer work more effectively and help create a smoother, more consistent result.
Examine the Existing Surface
Start by looking closely at the walls.
Check for peeling paint, nail holes, cracks, stains, glossy areas, mildew, or sections that have been damaged by moisture. Don't assume a new coating will hide these problems.
Minor imperfections can often be repaired before painting, while more significant damage may require additional attention.
Clean Before Applying Anything
Walls collect dust and residue over time, especially in kitchens, hallways, workshops, and high-traffic areas.
Cleaning the surface can help remove contaminants that might interfere with adhesion. Use a cleaning method appropriate for the wall material and allow the surface to dry thoroughly before continuing.
Painting over dirt or grease can contribute to uneven coverage and adhesion problems.
Smooth Out Imperfections
Fresh paint can highlight surface irregularities.
Fill suitable holes and small cracks, allow the repair material to dry, and sand the area until it blends with the surrounding surface. Run your hand across the wall to identify rough sections that may still need attention.
The smoother the foundation, the more uniform the finished appearance is likely to be.
Determine Whether Primer Is Necessary
Primer can be particularly useful when the surface requires a consistent base.
Bare drywall, exposed wood, repaired sections, stains, and substantial color changes are examples of situations where an appropriate primer may provide benefits. It can help create a more uniform foundation and support adhesion or coverage.
However, primer isn't automatically required for every repainting project. Follow the product manufacturer's recommendations for your specific surface and coating.
Pay Attention to the Existing Finish
Previously painted walls need to be evaluated before applying another coat.
If the existing finish is stable and compatible, basic cleaning and preparation may be sufficient. Glossy, chalky, peeling, or damaged surfaces can require additional preparation.
Avoid simply covering loose material. Anything that isn't properly bonded to the surface can compromise the new finish.
Give Each Stage Enough Time
Good painting takes patience.
Cleaning, repairs, primer, and finish coats may each require different drying or curing times. Environmental conditions such as humidity and temperature can also affect how quickly a product is ready for the next stage.
Following the manufacturer's recommended recoat times can help prevent unnecessary problems.
Plan for Major Color Changes
Changing from a dark shade to a very light color can require additional planning.
An appropriate primer or base coat may help achieve more consistent coverage and reduce the number of finish coats required. Similarly, strong existing colors may influence how the new shade appears.
Testing your chosen color on a small section can help you understand the final result before committing to the entire room.
Build the Right Foundation
A good paint job starts long before the final coat. Cleaning, repairing, smoothing, evaluating the existing coating, and determining whether primer is appropriate all contribute to the finished appearance.
When you use Paint and Primer according to the needs of the surface and follow proper preparation practices, you can approach your next painting project with greater confidence and create a finish that looks cleaner and more consistent.