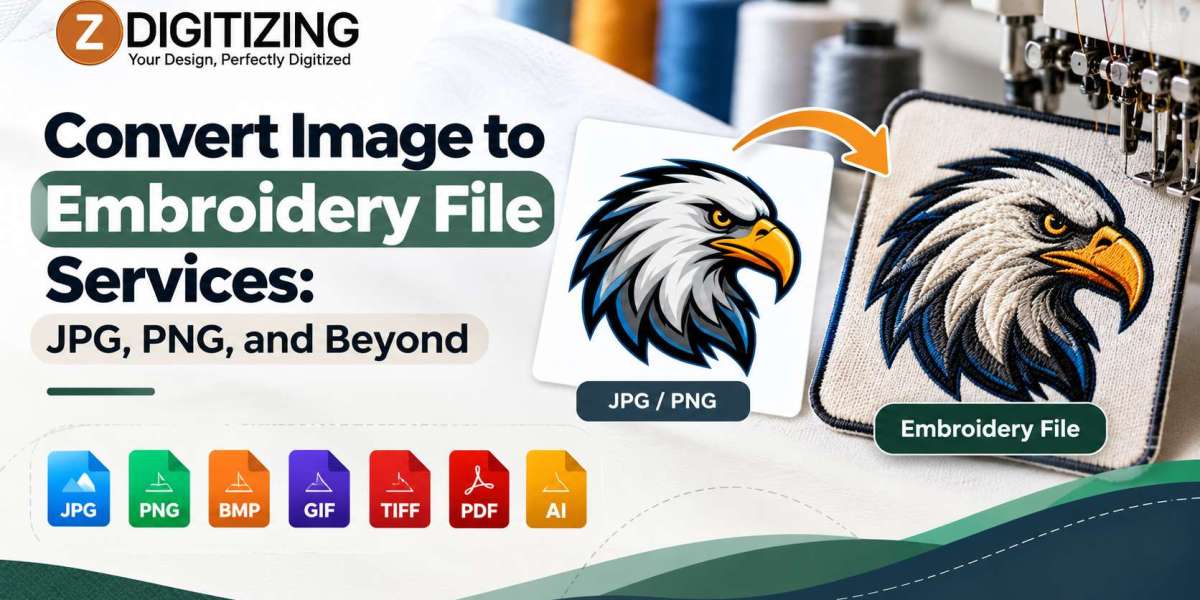

Convert Image to Embroidery File Services start with the file you already have, whether that is a JPG, a PNG, a PDF, or a vector file. Each format carries different strengths and weaknesses, and those differences decide how much cleanup is needed before stitching. With our Picture to Embroidery File Services, we check your source file, prepare the artwork, and build a stitch file made for your fabric and size.
This guide explains how each image format affects the result, how we prepare the file, what to send us, and which mistakes to avoid. Direct answers to common questions follow at the end.
How Do Convert Image to Embroidery File Services Handle Different Image Formats?
The format of your image decides how sharp the edges are and how much rebuilding is needed. The end goal stays the same: a machine-readable file, such as DST, PES, or EXP, that records where each stitch goes, which direction it runs, how dense it is, and in what order the colors sew.
A digitizer reads your image and decides how thread should cover each shape. Automatic software only reads pixels, so it cannot make those decisions. The sections below show what each source format means for your project.
Vector Files: AI, EPS, and SVG
Vector files store shapes as clean paths, so their edges stay sharp at any size. They are the best starting point for embroidery.
Shapes and colors are already separated, which speeds up stitch planning.
Scaling to a new stitched size causes no blur.
Small corrections are easy to make before digitizing.
If you have a vector version of your design, send it first.
High-Resolution PNG and JPG Files
A clear, high-resolution PNG or JPG works well for many designs. We trace or rebuild the artwork into clean shapes before stitching.
PNG files with transparent backgrounds make it easy to isolate the design.
JPG files can show compression noise around edges, which we clean up.
Large, sharp images give us more detail to work with than small ones.
Low-Resolution and Screenshot Images
Small or blurry images, such as screenshots or social media downloads, have soft edges that stitch unevenly. Guessing the shape from fuzzy pixels leads to wobbly lines and uneven fills.
We recreate the design as clean vector shapes first.
Our Vector Art Service handles that rebuilding step.
The rebuilt artwork then moves into digitizing.
PDFs and Scanned Artwork
A PDF may contain vector shapes or just an embedded picture. We check which one it is before planning stitches. Scanned drawings and hand sketches need cleanup, because paper texture and uneven lines do not translate well into thread.
Photos and Complex Images
Photos cannot be stitched exactly. Embroidery uses solid thread colors, so we simplify the image into shapes and a limited palette, and we remove busy backgrounds. We review your photo and tell you what will translate well before we begin.
How We Convert an Image Into a Stitch File
At ZDigitizing, we follow a clear sequence once we have your image and details:
Review the image. We check format, resolution, clarity, and color count.
Clean or rebuild the artwork. Blurry or low-resolution images are recreated as clean shapes.
Confirm size and placement. We plan the stitched width, height, and position.
Map the stitches. We assign satin, fill, and run stitches and set direction for each shape.
Add underlay and pull compensation. We stabilize the fabric and offset the pull that distorts outlines.
Sequence the colors and export. We reduce jumps and thread changes, then prepare your machine's format.
This is where Picture to Embroidery File Services differ from one-click converters. The digitizer decides how thread should behave on a specific fabric at a specific size.
What to Send Us
Better source files lead to better stitch files. Include:
The best version of your image, ideally a vector file such as AI, EPS, or SVG
A clear, high-resolution PNG or JPG if no vector file exists
The stitched width and height you want
The garment type and fabric
Thread colors or Pantone references if color matching matters
Your machine's file format
Matching the File to the Placement
The same image needs different settings on different items.
Left chest: Small designs need simplified detail. Our Left Chest Logo Digitizing service covers this placement.
Caps and hats: Curved crowns and seams change stitch angles. Our Cap Logo Digitizing and Hat Digitizing services handle those settings.
Jacket backs and sleeves: Large designs need balanced density. Our Jacket back Digitizing and Back & Sleeve Digitizing services prepare those files.
Patches: Borders and backing change the file. Our Patch Digitizing service covers those needs.
For specialty looks, our Applique digitizing and 3D Puff Embroidery Digitizing services prepare those setups. Thin lines and tiny text work poorly with puff, so bold shapes suit it best.
Mistakes That Ruin Converted Files
Most poor embroidery traces back to the file. Watch for these problems:
Using a low-resolution image. Blurry edges lead to uneven stitching.
Keeping too many colors. Extra thread changes slow production and clutter the design.
Tiny text. Small letters collapse after stitching.
Excess density. Heavy stitching causes puckering and thread breaks.
Skipping the test stitch-out. Problems show up only after the full run.
Fixing these during conversion costs far less than finding them across finished garments.
When Professional Conversion Is Worth It
A simple, bold, one-color shape may need little help. Professional conversion becomes more valuable when your project includes:
Low-resolution or blurry images
Photos, gradients, or shading to simplify
Small text or fine detail
Several garment placements for one design
A bulk order, where one file error repeats on every item
In these cases, convert image to embroidery file services reduce test stitching and wasted garments. For broader needs beyond conversion, our Embroidery Digitizing Service covers the full range. For designs headed to many products, Picture to Embroidery File Services keep every placement consistent.
Start With the Best Image You Have
Clean artwork, realistic sizing, a limited color palette, and a stitch plan built for the fabric make the biggest difference in embroidery quality. At ZDigitizing, we prepare each image for the garment it will be sewn on, so your machine runs a file made for the job. Good Convert Image to Embroidery File Services settle those decisions before the first stitch.
If you have an image ready, send it to us with the garment type and your desired size. We will review it and prepare a file that stitches cleanly.
Frequently Asked Questions
What are convert image to embroidery file services?
They turn an image, such as a JPG or PNG, into an embroidery file that a machine can read. The file sets stitch types, density, direction, underlay, and color order, so the design stitches cleanly instead of blurring or puckering.
Which image format is best for embroidery conversion?
Vector files such as AI, EPS, or SVG work best because their edges stay sharp at any size. A high-resolution PNG or JPG also works well. Low-resolution images may need rebuilding first.
Can you convert a low-resolution image or screenshot?
In many cases, yes. We recreate the design as clean vector shapes through our Vector Art Service, then digitize it. Very blurry images may need adjustments, and we tell you what to expect after reviewing the file.
What embroidery file format will I receive?
It depends on your machine. Common formats include DST, PES, EXP, and JEF. Tell us which machine you use, and we will prepare the file in a format it reads.
Can you convert a photo to an embroidery file?
Often yes, but photos must be simplified. Embroidery uses solid thread colors, so we reduce shading into distinct color areas and remove busy backgrounds. We review your photo and tell you what will translate well.