
How to Fix a Door Handle: A Comprehensive Guide
Door handles, typically taken for given, are vital parts of our homes. They supply access, enhance security, and add to the general aesthetic of any space. Unfortunately, like any mechanical device, door handles can malfunction due to use and tear, inappropriate installation, or other issues. This post will supply a comprehensive guide on how to diagnose problems, repair, and keep door handles efficiently, ensuring smooth operation and longevity.
Common Issues With Door Handles
Before diving into the steps to fix a door handle, it's necessary to understand the common issues that may emerge. Acquainting yourself with these problems can help you determine the needed action to take.
1. Loose Handle
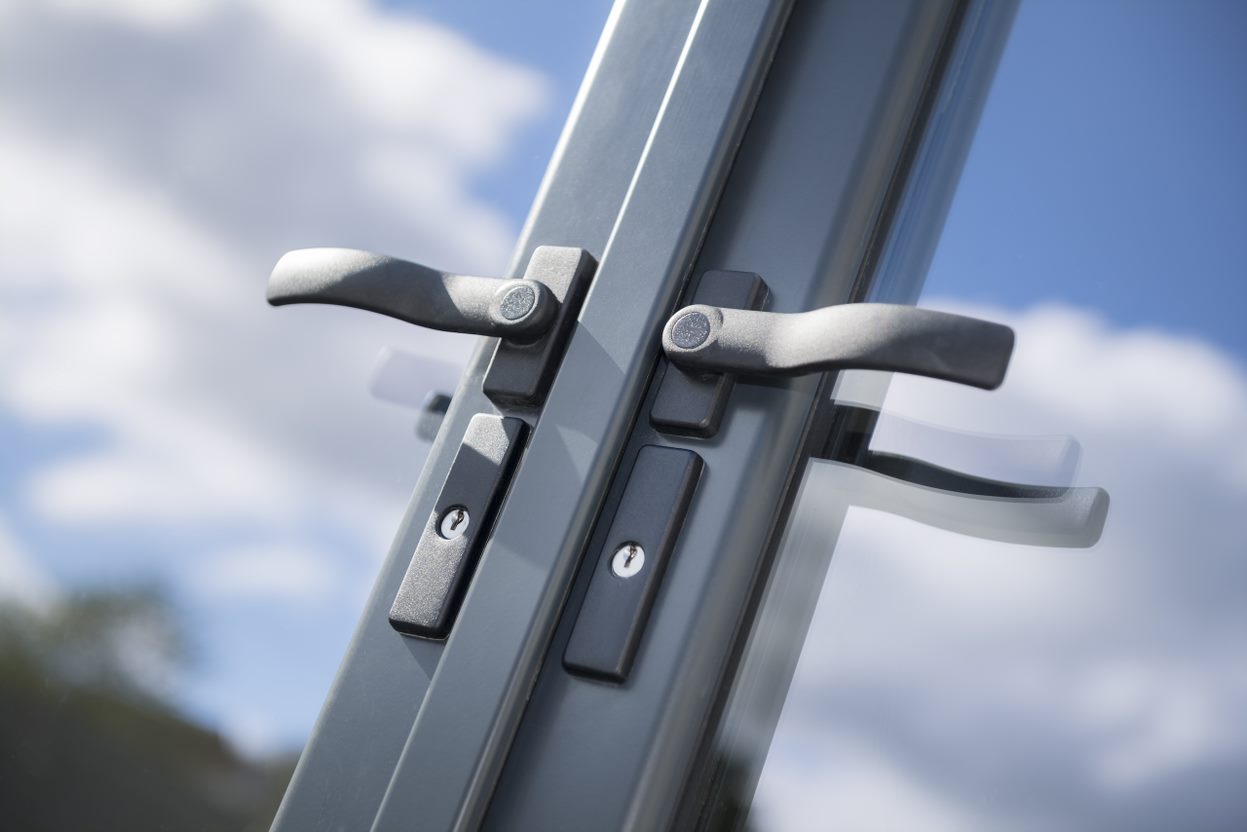
A loose door handle is maybe the most common problem. It can occur due to screws that have ended up being loose with time or hardware that has actually broken.
2. Sticking Mechanism
If the handle feels stiff or does not turn smoothly, it may be due to debris buildup or a malfunctioning lock.
3. Broken Knob or Handle
Physical damage can result in a broken knob or handle, rendering it either challenging to use or impossible to run.
4. Misalignment
Over time, doors settle, and as a result, the systems might become misaligned, leading to problem turning or closing the door totally.
5. Rust or Corrosion
For exterior handles, rust or deterioration can be a significant concern, particularly if the handle is made of metal and exposed to extreme weather condition.
Tools and Materials Needed
Before beginning the repair, it's vital to collect the essential tools and materials:
Tools
- Screwdriver (Phillips and flat-head)
- Allen wrench (if appropriate)
- Pliers
- Hammer
- Utility knife
Materials
- Replacement screws (if required)
- Lubricant (WD-40 or silicone spray)
- Replacement handle/knob (if needed)
- Cleaning cloth
Step-by-Step Guide to Fixing a Door Handle
Follow these steps to repair and fix your door handle.
Step 1: Identify the Problem
Begin by observing the door handle carefully. Look for any motion or sound when operating the handle. Figure out whether the handle is loose, sticking, or broken. Next, attempt to recognize possible blockages or issues in the latch mechanism.
Step 2: Disassemble the Handle
Using the suitable screwdriver, get rid of any screws protecting the handle. If there are no visible screws, search for a small set screw on the handle itself, which can typically be loosened with an Allen wrench. Keep all screws in a safe location for reassembly.
Step 3: Inspect the Mechanism
As soon as dismantled, check the internal workings of the door Handle Repair and Installation handle. Search for:
- Worn-out or broken components
- Debris or dirt blocking the mechanism
- Misalignment of the lock
Step 4: Clean the Components
Utilizing a cleaning fabric, wipe down all managed elements to eliminate dirt, dust, or debris. If essential, use the energy knife to scrape away stubborn gunk.
Step 5: Repair or Replace Parts
Depending on the damage observed:
- Loose Handle: Retighten the screws or change damaged hardware.
- Sticking Mechanism: Apply lubricant to the lock and the handle's moving parts.
- Broken Knob/Handle: Replace with a brand-new handle or knob that matches the old one.
- Misaligned Mechanism: Adjust the latch strike plate or reposition the entire handle assembly.
- Rust or Corrosion: Use a rust eliminator for affected locations or consider entirely replacing the handle.
Step 6: Reassemble the Handle
After attending to the issues, thoroughly reattach the handle and ensure all screws are tight. Check the handle's operation by turning it and unlocking to confirm whatever is operating smoothly.
Step 7: Final Checks
After reassembly, inspect the door positioning. If it's still misaligned, think about changing the hinges or strike plate. This ensures that not just does the handle function correctly, but the door likewise closes firmly.
Maintenance Tips for Door Handles
Routine maintenance can prevent lots of door handle issues. Here are some tips for keeping your door handles in ideal condition:
- Lubricate: Periodically apply a lube to the latch and handle mechanisms to prevent stiffness.
- Tighten Screws: Check screws every few months and retighten as required to prevent loose handles.
- Tidy Regularly: Wipe the handles with a wet cloth to avoid dirt accumulation.
- Inspect for Damage: Regularly inspect for signs of wear, rust, or damage, specifically for exterior handles.
FAQs about Door Handle Repair
Q1: How do I understand if my door handle is broken?
A1: If the handle feels loose, is difficult to turn, or completely removed, it is likely broken. Check all screws and internal parts for visibility of any damage.
Q2: Can I fix a door handle myself?
A2: Yes, the majority of door handle issues can be fixed with fundamental tools and a little knowledge. However, if you come across considerable problems, consulting a professional might be a good idea.
Q3: How often should I keep my door handles?
A3: A great practice is to perform maintenance checks every couple of months, including lubrication and inspection for any wear or looseness.
Q4: What kinds of door handles are easier to repair?
A4: Simple knob-style handles are generally easier to repair than more complex lever-style handles or electronic locks.
Q5: What should I do if my door handle will not open?
A5: Try lubricating the latch mechanism initially. If that does not work, check for misalignments or damage. If the issue continues, think about calling a locksmith.
By embracing these actions and maintenance tips, house owners can solve door handle issues effectively and guarantee their doors operate properly for many years to come. Neglecting these simple repairs might result in more substantial issues, however with the right knowledge and tools, a defective door handle can be quickly repaired.